
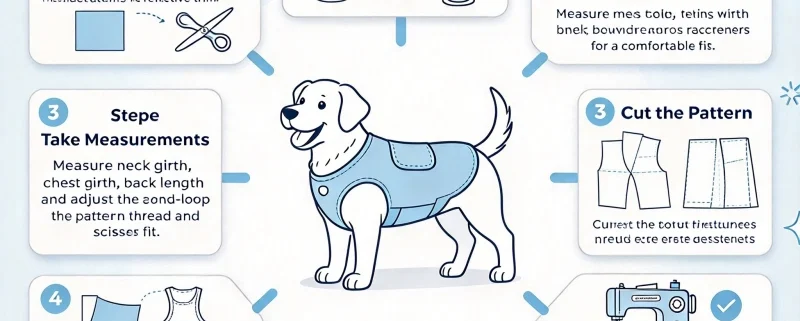
How to Make a Dog Cool Coat: A Practical DIY Guide
When summer arrives, keeping your dog comfortable becomes a daily challenge. Maybe your dog starts panting after a short walk, refuses to move away from the shade, or spends the afternoon lying on the coolest floor in the house. If you enjoy sewing or making things at home, learning how to make a dog cool coat can be a practical way to help your dog stay more comfortable in warm weather.
The good news is that you don’t need professional sewing skills or expensive equipment. With a few basic materials, some careful measuring, and the right design, you can make a simple cooling coat at home.
However, one important point comes first: a homemade cooling coat is an optional comfort aid, not protection against heatstroke. Dogs primarily regulate their body temperature through panting, and cooling garments cannot make dangerous heat or strenuous exercise safe. Cornell University College of Veterinary Medicine provides additional guidance on keeping dogs safe during hot weather.
1. Choose the Right Materials
Before cutting any fabric, decide how you want the coat to work. A simple DIY cooling coat can use absorbent fabric that holds water and allows it to evaporate gradually.
Here is what you will need:
| Material | Suggested Option | Purpose |
|---|---|---|
| Outer fabric | Lightweight, breathable cotton or mesh | Provides coverage and airflow |
| Absorbent layer | Thin cotton terry cloth or another washable absorbent textile | Holds water for evaporative cooling |
| Fasteners | Sew-on hook-and-loop tape | Makes the coat adjustable |
| Thread | Strong, washable sewing thread | Secures the seams |
| Measuring tape | Flexible fabric measuring tape | Helps achieve a comfortable fit |
| Sewing tools | Fabric scissors, pins and a sewing machine or needle | Cutting and assembly |
You can often reuse a clean cotton T-shirt or lightweight towel for your first prototype.
I recommend starting with thin, washable materials rather than making the coat thick and heavy. A garment that absorbs a lot of water can become uncomfortable when wet, especially for a small dog.
Avoid waterproof outer layers that prevent evaporation, and do not add loose gel packs, chemical cooling agents or small removable parts that your dog could chew or swallow.
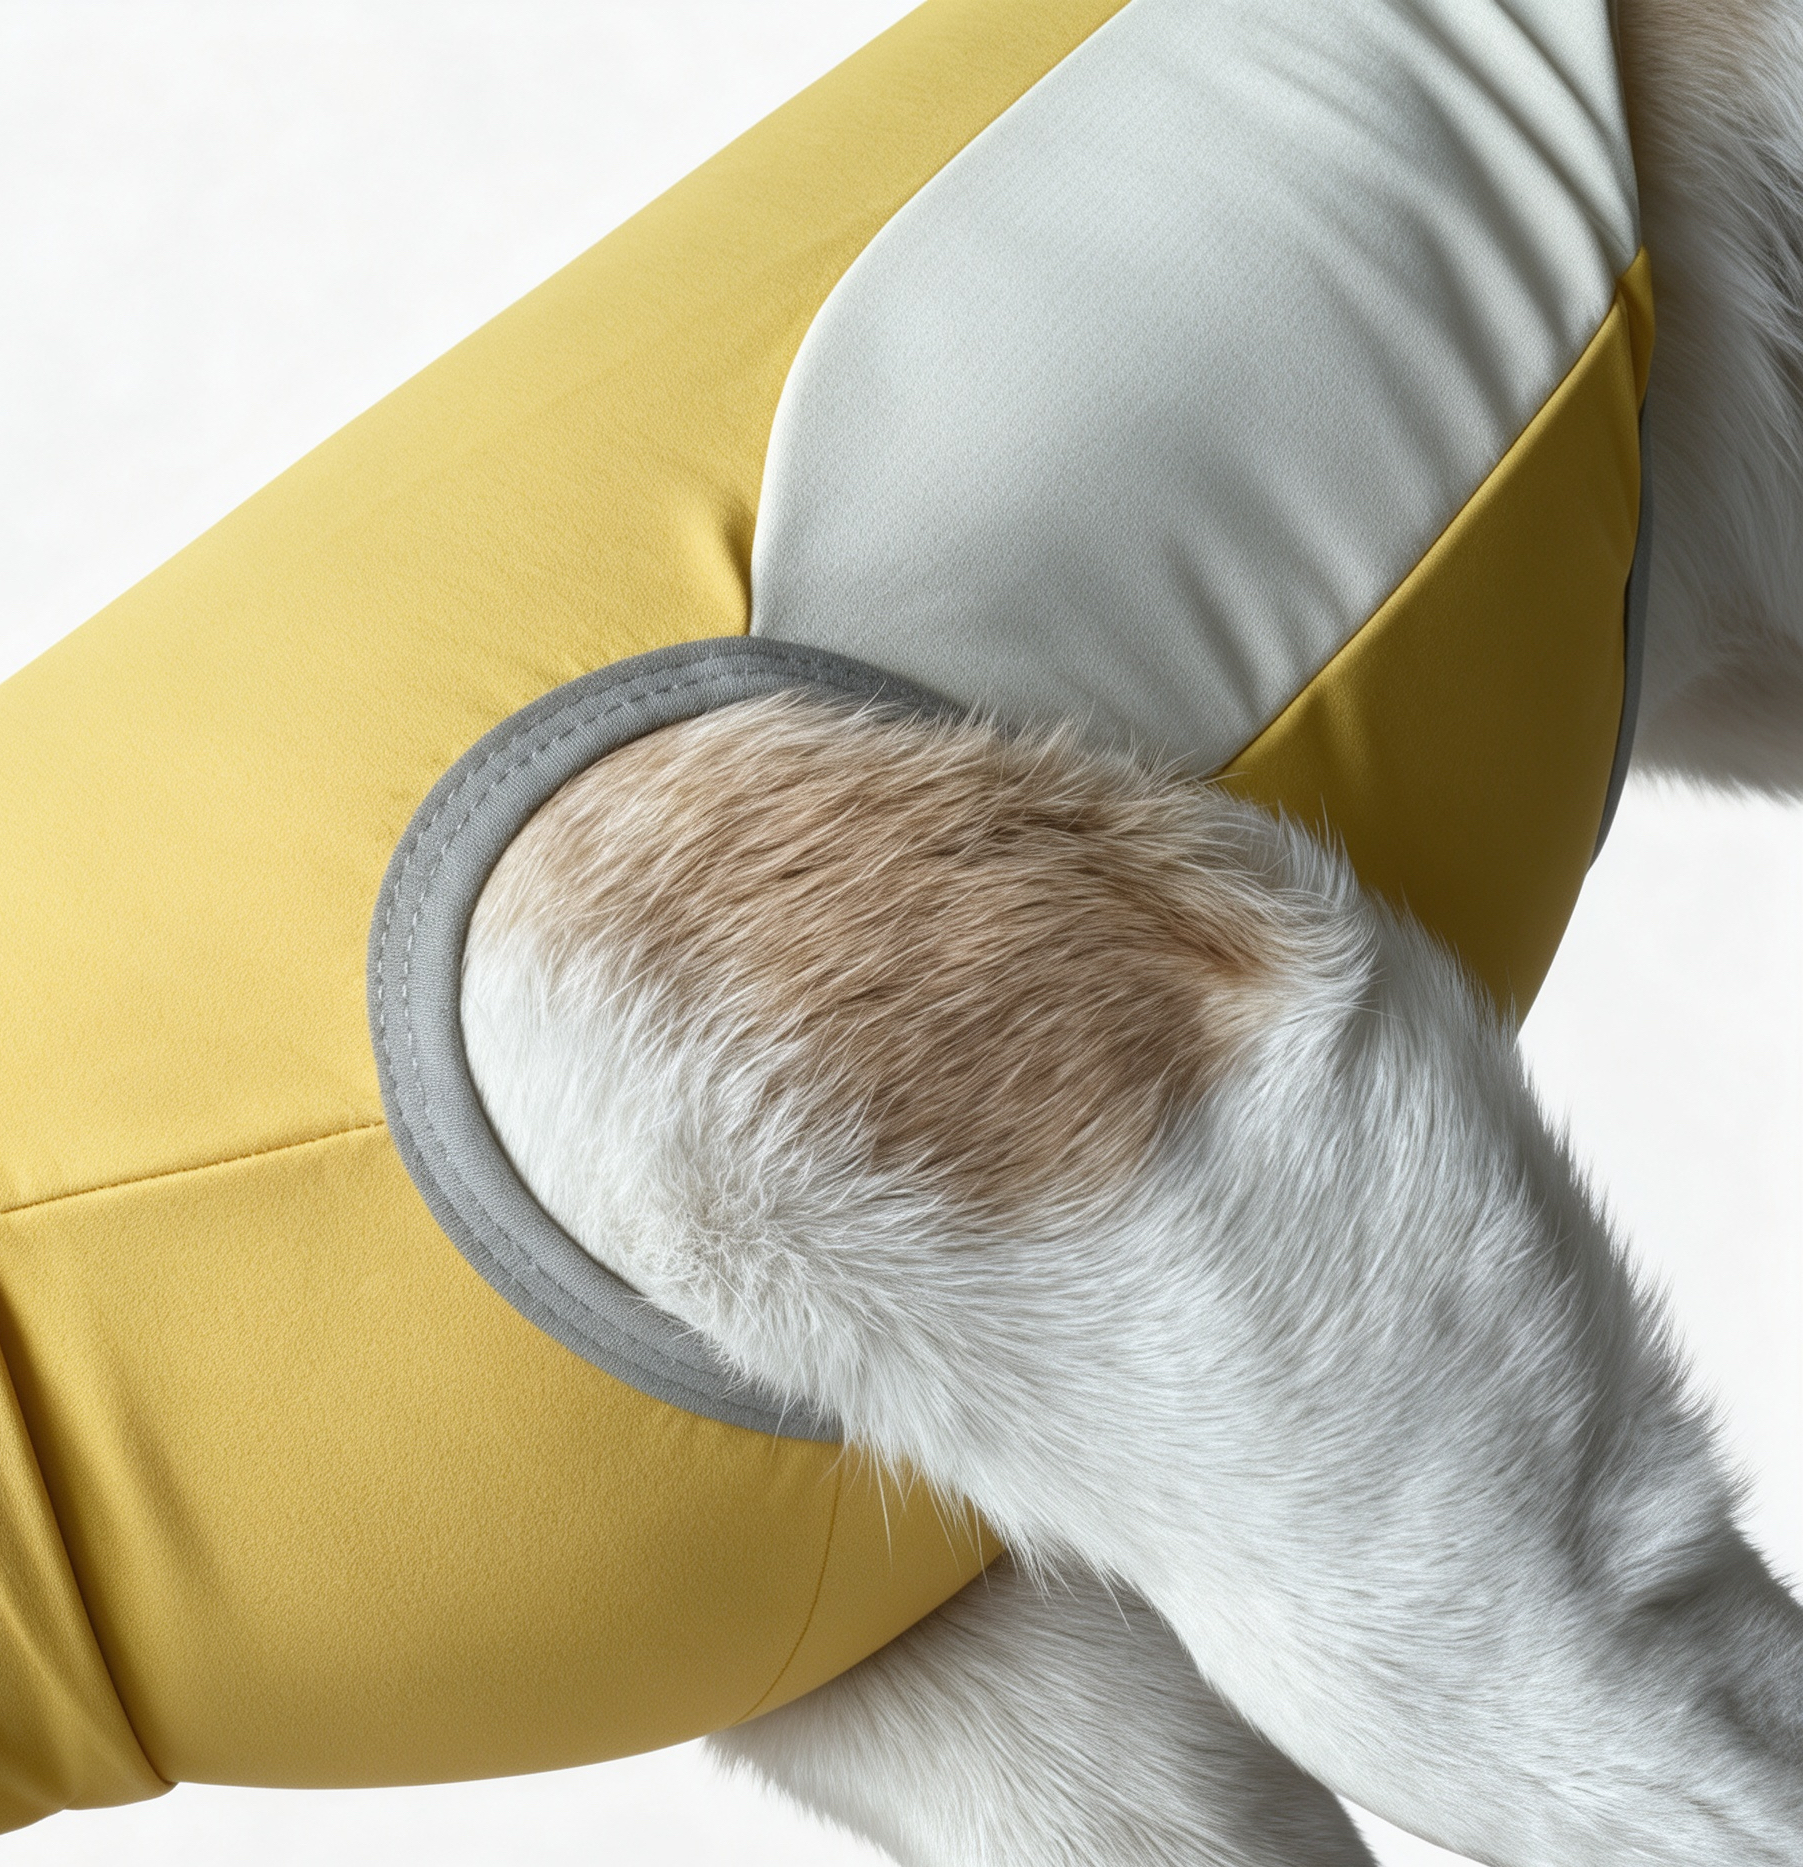
2. Measure Your Dog Before Making the Pattern
A cooling coat should fit comfortably without squeezing the chest, restricting shoulder movement or interfering with normal panting.
Take three basic measurements:
- Neck circumference: Measure around the base of the neck where the coat will sit.
- Chest girth: Measure around the widest part of the chest, usually just behind the front legs.
- Back length: Measure from the base of the neck to the base of the tail.
For example, imagine a medium-sized dog with these measurements:
| Measurement | Illustrative Example |
|---|---|
| Neck circumference | 16 in (40.6 cm) |
| Chest girth | 24 in (61 cm) |
| Back length | 18 in (45.7 cm) |
These are sample measurements, not a standard size for every medium-sized dog.
Make a paper pattern first and test it against your dog’s body. Leave enough room for comfortable movement, but don’t make the coat so loose that it slips, twists or catches on objects.
A useful fitting test: Before sewing the final seams, check that your dog can walk, turn, sit and lie down normally while wearing the pattern.
3. Cut a Simple Dog Cooling Coat Pattern
For beginners, a wrap-style vest is easier to make than a complicated jacket with sleeves.
Start with two main sections:
- A body panel that rests over the back.
- Adjustable side panels that wrap around the chest and secure underneath or along the side.
The body panel should cover part of the dog’s torso without extending over the tail or interfering with the hind legs.
Round the corners and shape the front opening around the neck. Keep the arm openings generous enough to prevent rubbing behind the front legs.
For a first project, avoid sleeves, thick padding, decorative cords and complicated pockets. Every extra feature creates another possible source of friction or discomfort.
4. Sew the Cooling Coat Step by Step
Once the pattern fits, you can start sewing.
Step 1: Cut the fabric.
Cut the outer fabric and absorbent layer according to your paper pattern. Allow approximately 0.4–0.6 in (1–1.5 cm) for seam allowances if these are not already included.
Step 2: Join the layers.
Place the fabric pieces together and pin them around the edges. Sew around the perimeter, leaving a small opening to turn the coat right-side out.
Step 3: Finish the seams.
Turn the coat through the opening, smooth the edges and close the opening with a neat seam. Add a few lines of stitching across the body panel if needed to stop the layers from shifting.
Step 4: Attach the fasteners.
Sew hook-and-loop tape securely to the side panels. Position the fasteners so that the coat can be adjusted without putting pressure on the throat or ribcage.
Step 5: Inspect the finished garment.
Check every seam, fastener and edge. Remove loose threads and make sure there are no sharp parts or loose components your dog could chew.
Wash the coat before its first use to remove any manufacturing residue or loose fibers.
5. How to Use the Homemade Cooling Coat
A simple evaporative cooling coat works by holding water in the fabric. As that water evaporates, it can carry heat away from the garment and help support the dog’s cooling process.
Here is a practical routine:
- Wet the coat with clean, cool tap water.
- Gently squeeze out excess water so it is damp rather than heavily dripping.
- Put it on your dog and check the fit.
- Stay with your dog and observe its breathing, movement and comfort.
- Remove the coat if it becomes uncomfortable, restricts movement or starts to cause rubbing.
- Re-wet it only when appropriate for the fabric and conditions, and according to how the garment is performing.
Evaporative cooling works less effectively when humidity is high because water evaporates more slowly. Preventive Vet’s hot-weather guide explains both the potential benefits and limitations of cooling vests.
Never assume the coat is still helping simply because it is on your dog. If the fabric dries out, becomes warm or starts trapping heat, remove it and move your dog to a cooler environment.
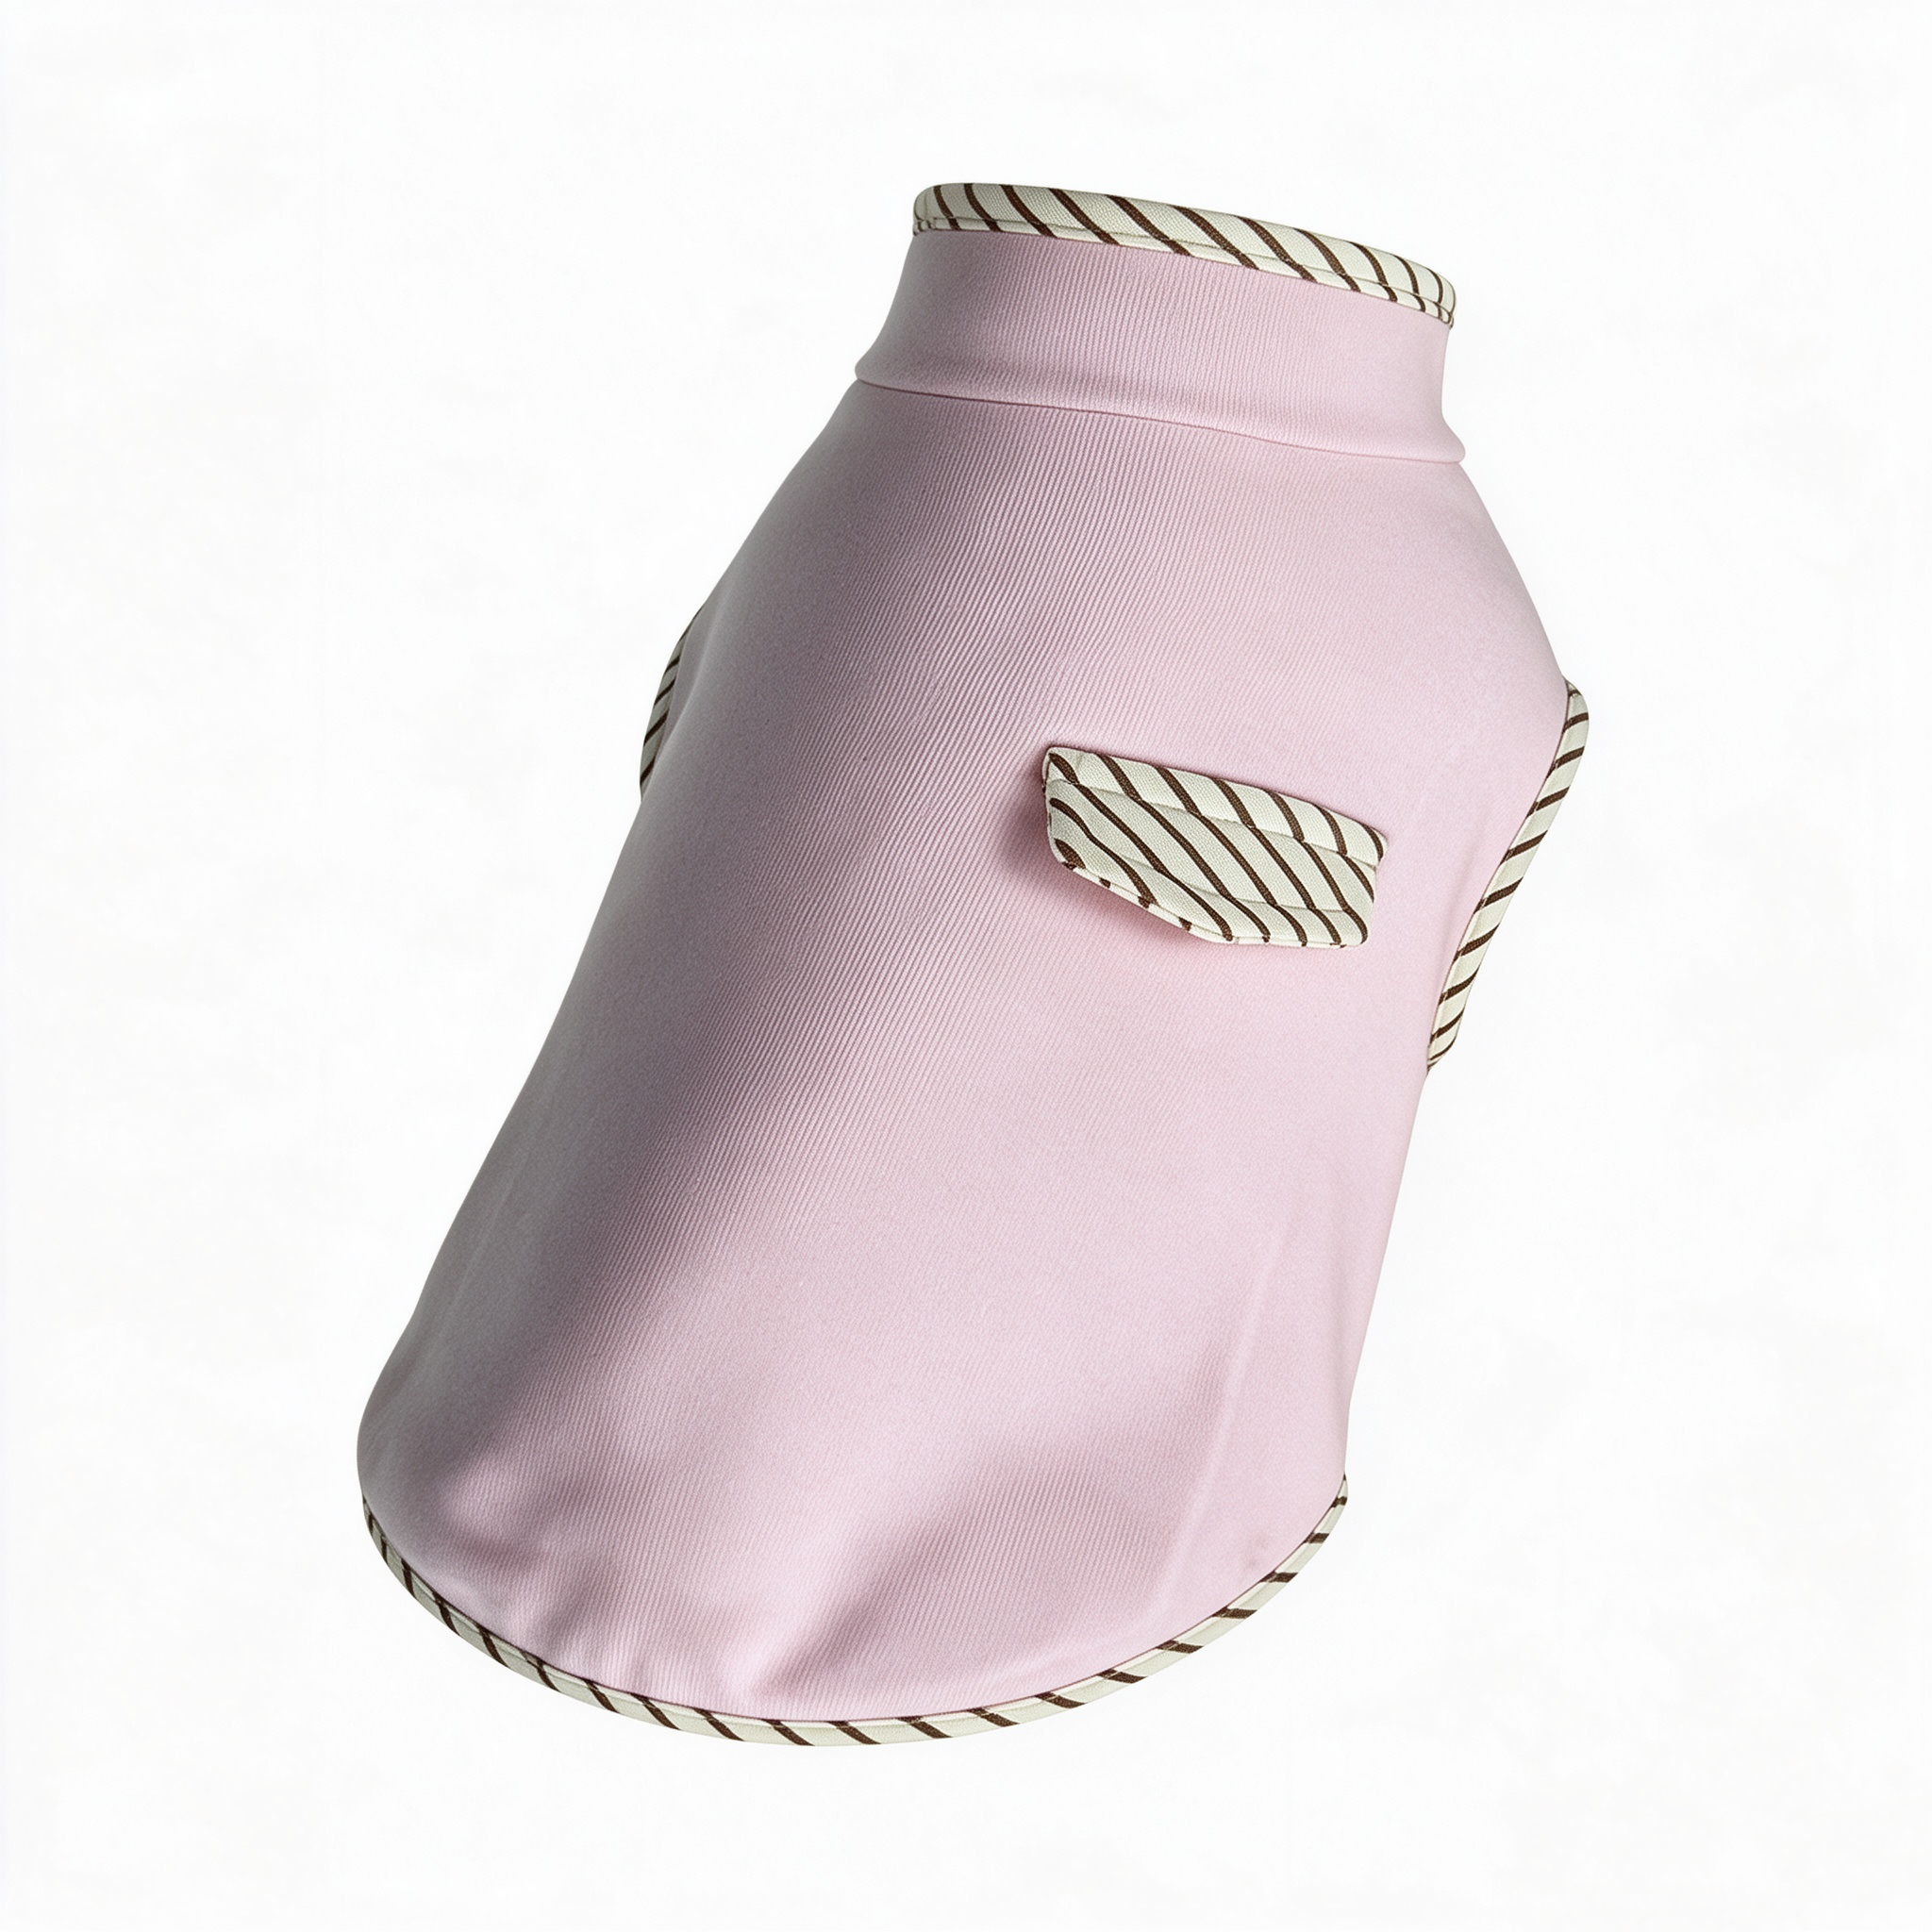
6. A Practical Example: Improving a DIY Cooling Coat
Imagine a dog owner makes a coat from two layers of thick cotton towel. The garment holds plenty of water, but after being soaked it feels heavy, sags around the chest and rubs against the dog’s front legs.
The first instinct might be to add more straps or sew the coat more tightly.
A better solution is to simplify the design.
The owner could replace the thick inner layer with a thinner absorbent textile, reduce unnecessary fabric around the belly, and reposition the fasteners to distribute the weight more evenly.
The next test should focus on three things:
- Does the coat remain secure when the dog walks?
- Can the dog move its shoulders and breathe comfortably?
- Does the garment stay damp without becoming excessively heavy?
This is an illustrative design example, not a verified veterinary case. The lesson is practical: more absorbent fabric does not automatically mean a better cooling coat. Weight, airflow and fit matter just as much.
7. Common Mistakes to Avoid
Making the Coat Too Thick
Multiple thick layers may retain water and add weight while reducing airflow. Start with a lightweight design and assess comfort before adding material.
Making It Too Tight
A coat that compresses the chest or rubs the armpits can cause discomfort. Always check the fit again after the fabric becomes wet.
Using Ice-Cold Materials
You don’t need to freeze the coat or put ice directly against your dog’s skin. Cool water is a sensible starting point for an ordinary DIY garment.
Leaving the Dog Unsupervised
Dogs may chew, twist or become caught in clothing. Supervise your dog, particularly during the first few uses, and remove the coat if your dog shows signs of distress.
Relying on Clothing During Extreme Heat
Fresh water, shade, ventilation, rest and adjusting outdoor activity are more important than any garment. Never leave a dog in a parked car, even if it is wearing a cooling coat.
8. How to Know When Your Dog Needs More Than a Cooling Coat
Heavy panting, excessive drooling, weakness, vomiting, confusion, difficulty breathing or collapse can indicate heat-related illness.
If you suspect heatstroke, move your dog out of the heat, start cooling with cool water if it’s safe, and seek urgent veterinary care. Do not wait for a homemade coat to solve the problem.
Dogs with flat faces, older dogs, overweight dogs and those with heart or breathing conditions may need extra precautions in warm weather. Ask your veterinarian whether a cooling garment is appropriate for your dog.
Frequently Asked Questions
What fabric is best for a homemade dog cooling coat?
A lightweight, washable, breathable outer fabric combined with a thin absorbent layer is a reasonable starting point for a basic evaporative design. The best combination depends on how well it holds water, allows evaporation and fits your dog.
Can I make a dog cooling coat without a sewing machine?
Yes. You can hand-sew a simple wrap-style coat using a needle, strong thread and basic fabric. Make sure all seams and fasteners are secure before allowing your dog to wear it.
How long does a homemade cooling coat stay effective?
There is no reliable universal duration. It depends on the fabric, amount of water, airflow, humidity, temperature and activity level. Check the garment frequently rather than assuming it will remain effective for a fixed number of hours.
Can every dog wear a cooling coat?
No. Some dogs dislike clothing, and some may have medical or breathing issues that require extra care. Introduce the coat gradually, monitor your dog’s response and consult your veterinarian if you are unsure.
Final Thoughts
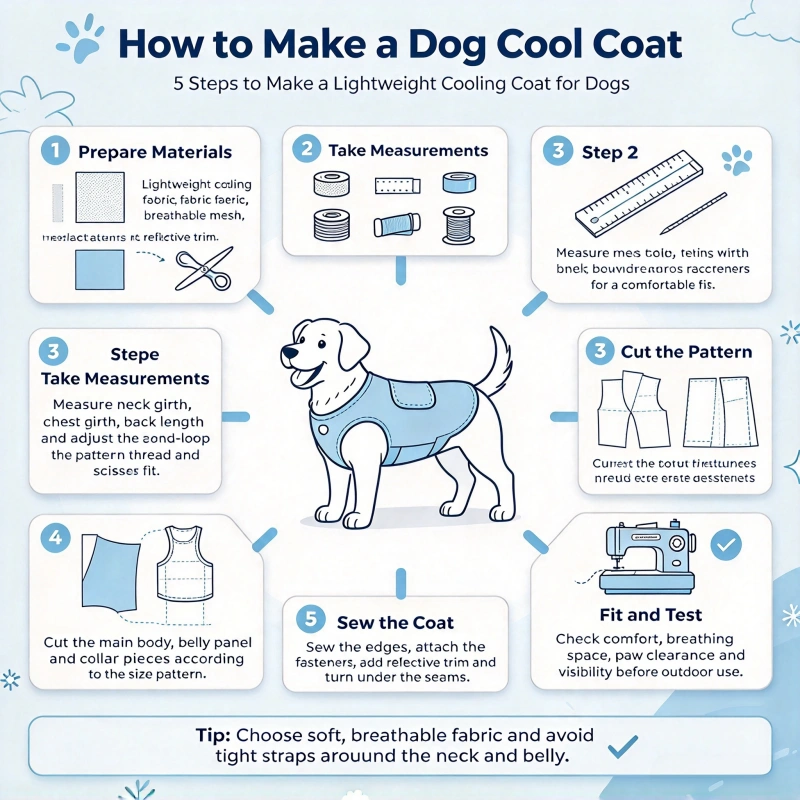
Learning how to make a dog cool coat is a manageable DIY project if you keep the design simple. Start with breathable materials, measure carefully, use secure adjustable fasteners and test the fit before taking your dog outdoors.
Most importantly, remember that a cooling coat is only one small part of summer care. A cool environment, fresh drinking water, shorter walks during hot weather and close observation are still essential.
Make the coat for comfort—not as a reason to stay outside longer than the weather safely allows.
As a professional manufacturer of pet apparel, we offer a highly practical recommendation: if you own a pet brand, partnering directly with a manufacturer allows you to add a “cool coat” production line at a very low cost. It all starts with contacting a factory—such as us.

I am a supplier with 10 years of experience in the apparel industry. As a professional clothing manufacturer, we provide you with a one-stop solution.


Leave a Reply
Want to join the discussion?Feel free to contribute!